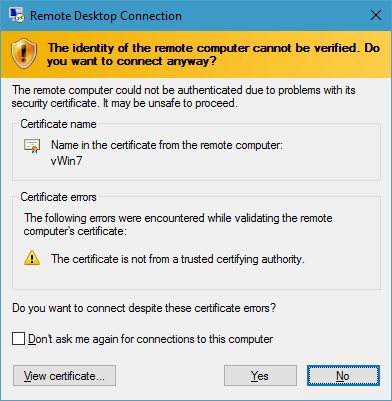
This was more something that was bothering me than anything absolutely necessary, but I wanted to get a properly signed certificate installed on my remote Windows 7 machine that’s hosted in a datacenter as a VM. Every time I connected to it, the RDP client would display an error that the RDP server wasn’t providing a proper security certificate:
More annoying than anything, really. However, since I do have several certificates that are signed this was a problem I could remedy.
Some quick Googling revealed this Microsoft TechNet post – which by the way might be the first time in history that a TechNet post was ever actually useful.
Condensed and simplified, this is how you install a certificate into Windows 7:
- Open up the Microsoft Management Console (Start -> Run -> mmc)
- Click “File” -> “Add/Remove Snap-in…”
- Select “Certificates” in the left pane and then select “Add >” in the middle
- In the dialog box that comes up, select “Computer account” and then click “Next >”
- Select “Local computer: (the computer this console is running on)” and then click “Finish”
- Select “OK”
- In the left, expand”Certificates (Local Computer)”
- In the left, right-click “Personal”, then select “All Tasks”, then select “Import…”
- Select “Next >” in the dialog box that pops up.
- Select “Browse” and select your PKCS #12 certificate and private key PFX file, and then click “Open”
- Follow the instructions to import your certificate and private key, providing your password if required.
- Once your certificate and private key have been imported, double-click on your certificate in the right pane.
- Select “Details” and scroll down to “Thumbprint”
- Copy the thumbprint displayed – you need this for a later step
- Select “OK”
- Right-click the certificate in the right pane, select “All Tasks” -> “Manage Private Keys”
- Click “Add”
- In the text box, enter “NETWORK SERVICE”
- Select OK
- Uncheck “Full control” for the NETWORK SERVICE user.
- Select “OK”, and close the Microsoft Management Console. If prompted to save changes, select “No”.
- Open the Registry Editor (Start -> Run -> regedit)
- Navigate to HKLM -> SYSTEM -> CurrentControlSet -> Control -> Terminal Server -> WinStations -> RDP-Tcp
- Create a new Binary value (Right-click in the right pane, select “New” -> “Binary Value”)
- Name the Binary value SSLCertificateSHA1Hash
- Open the Binary key SSLCertificateSHA1Hash
- Enter in the SHA1 fingerprint that you copied down from Step 14
- Select “OK” and close the Registry Editor. The Terminal Services service does not need to be restarted, the certificate will be loaded the next time a Remote Desktop connection is initiated.
Now, next time you connect to the machine, you will no longer get a message saying the connection is untrusted. When the connection is opened, you will see a new icon on the top of the RDP status bar:
![]()