I hate strongly dislike plastic in the engine bay car.
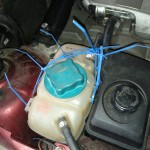
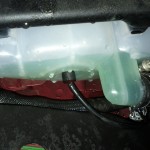
The coolant tank is shared with the 3.2L I6 and the 4.4L V8 engine. There is also an aftermarket equivalent part that is nearly half the price of the OEM Volvo part. I chose the aftermarket part because my confidence in Volvo plastic is not strong. This tank had to be replaced because the plastic turned extremely brittle and would disintegrate – the upper return line on the coolant tank had the nipple break off inside the hose, requiring a very ungraceful solution until this replacement tank arrived:
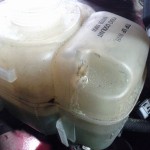
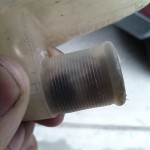
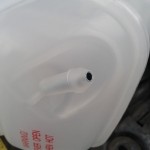
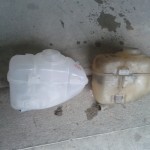
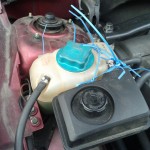
You can see where the nipple broke off, and where the metal reinforcements into the nipples have began to corrode. No good. Also shown is the new improved tank with metal reinforcements all around.
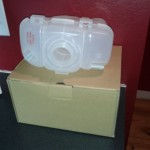
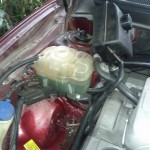
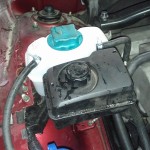
Here’s the shiny new tank – aftermarket and not a OEM Volvo part.
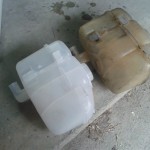
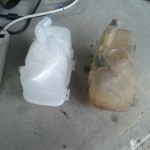
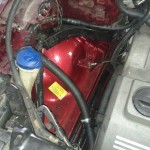
Also, compared to the old tank.
- Volvo OEM part number: 30760100
- Supplier: SwedishAutoParts.com – $55.97 [Volvo] – $32.56 [Aftermarket]
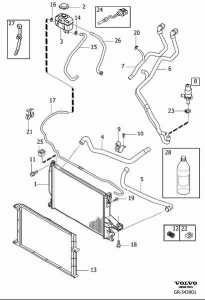
Here is an exploded parts diagram of the vacuum tank. It is labeled as #3 in this diagram:
The replacement procedure for the tank is very straightforward. Unfortunately, the hose clamps used from the factory are difficult to remove and difficult to put back on. I cut out the old hose clamps and put on some T-bolt clamps to replace them with.
- Wait for the engine to cool, it’s not fun getting burned by hot coolant.
- Remove the power steering tank by putting a flat blade screwdriver into the clip between the power steering tank and the coolant tank. Lift the tank out of the way, you can leave the lines connected.
- Open the cap of the coolant tank, and lift it up to release it from the firewall. Remove the coolant in the tank – I was lazy and just dumped the tank over and drained it out into the engine bay. Take caution to not get coolant onto the accessory belt.
- Remove the hose clamps and disconnect the hoses. There are two hoses on top (vent and return) and one larger diameter hose on the bottom. There is also a sensor that you can unclip near the main harness.
- Once the hoses are disconnected, lift the tank and the unclipped level sensor out of the engine bay. Flip the tank over and you can gently pry out the level sensor.
- Press the sensor into the new tank, connect the hoses, and then re-attach the new hose clamps. Line up the tank over the mounting clips on the firewall, and press firmly down to clip the new tank into place.
- Put the power steering fluid tank into place, making sure it clips in.
- Fill up the coolant tank with fresh coolant, and off you go.
Did you find any of the information useful? Have I helped you save a bit of money / time / frustration? I've spent a lot of time taking pictures and meticulously documenting everything to post it here. I'd really appreciate it if you could send me some money via Paypal! This helps defray the cost of running this website and also provides me with beer to continue writing these articles. Thanks!

1 Comment
it was useful ,but the return pass through the timing belt cover that is hell by itself