
Spotted…in the Chipotle parking lot. I’ll take 2 please.
He's dead, Jim
Spotted…in the Chipotle parking lot. I’ll take 2 please.

After a few hours of digging into hex and binary conversion tools, I have completed my task. If you download and compile Minidlna on a Linux box, it will show a Tux penguin for it’s upnp icon (for instance, if you were browsing over the network on the PS3). Since my Minidlna server is PowerMac G4 running Debian, I converted a few PNG images of the Apple logo into it’s hexadecimal equivalent, changed the source file icons.c, and recompiled it. Done! Click here to get the updated icons.c file.
If you find yourself with a block of \x encoded hex that you need converted back to it’s binary equivalent – in my particular case, an image encoded as a hex block back to it’s native JPEG file, you can use this short code snippit:
cat <input file> | sed -e ‘s/\\x//g’ -e ‘s/”//g’ -e ‘s/^[ \t]*//’ | xxd -p -r – <output file>
Adjust the sed arguments as needed to produce the trimming that you need to feed into xxd – when you pass -p to xxd you instruct it to take input as hexadecimal plaintext, and -r tells xxd to go from the hexadecimal string back it’s binary equivalent.
In this case, I used this to extract the images from the icons.c file for Minidlna.
Thanks to this LinuxJournal article for how to do a reverse hex dump.
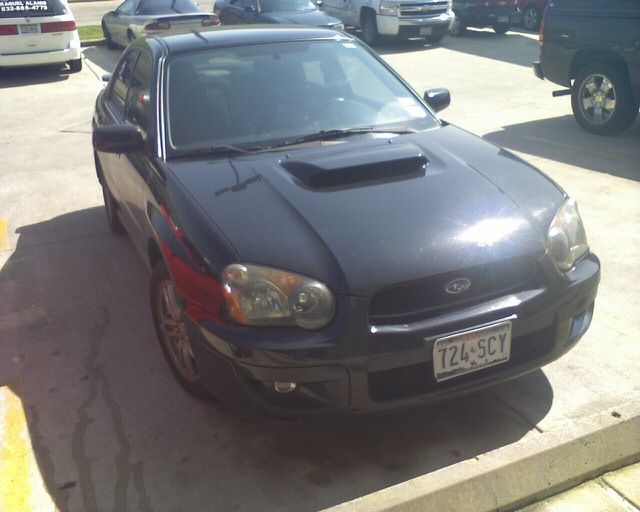
Spotted OBP WRX at the Kim Kim/Starbucks parking lot at FM1960 and 290E
14 inch carbon steel wok and two ceramic knives.

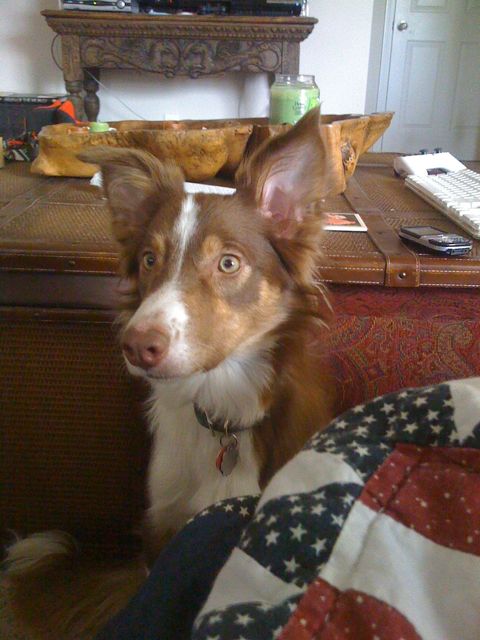
Sent to me by a friend, and definitely made me chuckle.

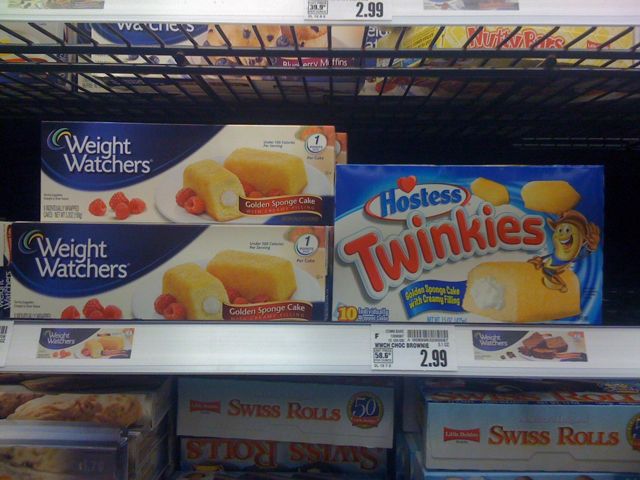
Seriously? If you were weight conscious you’d think you wouldn’t go for the Twinkies.
I don’t think I’ve seen anyone maintaining packages for the excellent MiniDLNA media server for Debian or Ubuntu. The instructions provided here should work for both Intel and PPC builds (maybe others?) of Ubuntu and Debian Linux.